-->

Tuesday, 12 June 2012

Adventures in Breadmaking

So, I want to bake bread.

Not just because the bread at Overwaitea always arrives only days before the expiry date.  Not just because the home bakery in town charges A LOT for a loaf of fresh bread.  And not just because I want to make cinnamon buns. I want to prove I can do it! And without the help of a breadmaker (mostly because I don't want to buy one).

So my best friend and her husband have been making bread for some time. (Cue jealousy) She recently made a blog post here Rachel Learns Everything about making a quick and easy bread.  It looked so good and sounded relatively simple so  I figured, sure, I can do that.

Cue the horror music.

So it started out okay.  I got Hugh to convert the weight measurements into something I could use ( I mean really, who measures water by weight??) I guess someone does.  What happened to good old metric? I added my ingredients mixed and thought "this is easy!" Covered it with saran wrap and left it in our bedroom overnight.
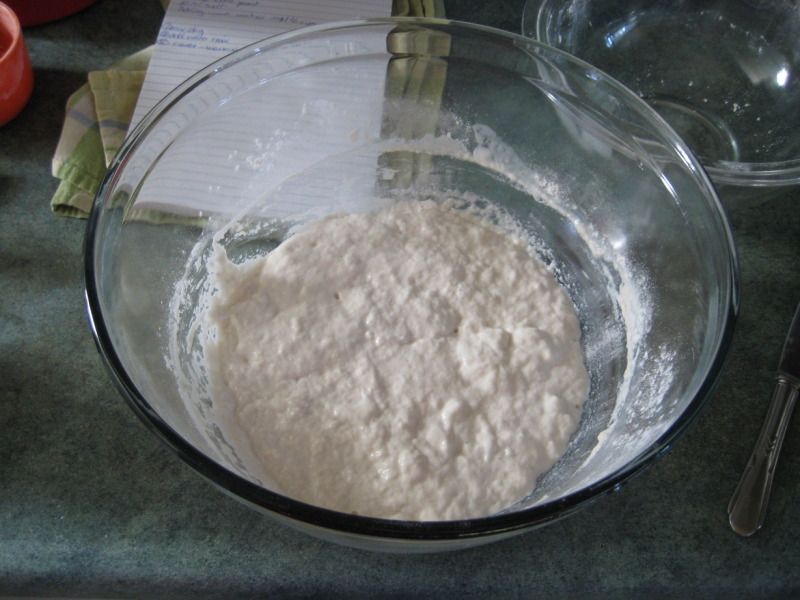
Like Christmas morning I popped out of bed to eagerly check on the bread.  Now to be fair, I grew up watching my mom make bread.  I watched bread rise, get pounded down, only to rise again.  Sounds like an inspirational poster doesn't it? So as I looked down excitedly expecting to see a puffed up bowl of dough I was sorely disappointed.  It had barely moved.  It was spewing out tiny bubbles though so I figured life did exist in there, but it seemed to be struggling.

I whinged to my husband. I abandoned it for another couple hours.  No change.  I figured, why stop now.  Maybe I am expecting too much? I read the directions faithfully.

"Scrape edges of bowl, dump out onto floured surface,  take edges and pull around then flip so you have a nice round doughball."

I poke my batter. It grasps my finger and just will not let go. Huh.  I flour said finger and have another go.  Same result.  "Uh oh." I think.  I swirl the dough around a little more and it has the consistency of thick paper mache. "And I am going to eat this?" I wonder.

Finally with much courage I flour my counter and pour this sucker onto the counter. Yes I mean pour.  It begins to spread across my counter slowly reminding me of some strange suffocating creature. Frantically I powder the top with flour and valiantly attempt to fold and edge over.  Creature says "NO!" and commences smothering my hands. My hands did not stand a chance.  Thank goodness I had had the forethought to move my wedding rings to higher ground, like the top of the fridge!

Okay enough of this, I think and I fight back with my only weapon.  Lots of flour.  I threw handfuls of flour at this thing attempting to appease it insatiable hunger for hands with flour.  Finally after much feeding and gentle kneading it was coaxed into something vaguely resembling a sloppy ball and thrown back into a bowl for a second go at rising.

Meanwhile I contacted me friend and cried for help on her blog. Being in England, I think she was sleeping at the time. Bad timezones!

According to the recipe this should take about 1.25 hours.  I eyeball it at the appointed time.  No a bit of movement.  2.5 hours, still nothing.  At this point I got bored and went and watched a movie and gave up on the whole sodding mess.

As they say a watched kettle doesn't boil, a watched fax machine will not fax, and apparently a watched batch of bread dough will not rise.

Dinner time rolls around and hubby heads into the kitchen to cook.  Next thing I hear is, "You had better come in here."

Bread dough is now twice its original size. Well, yippy!
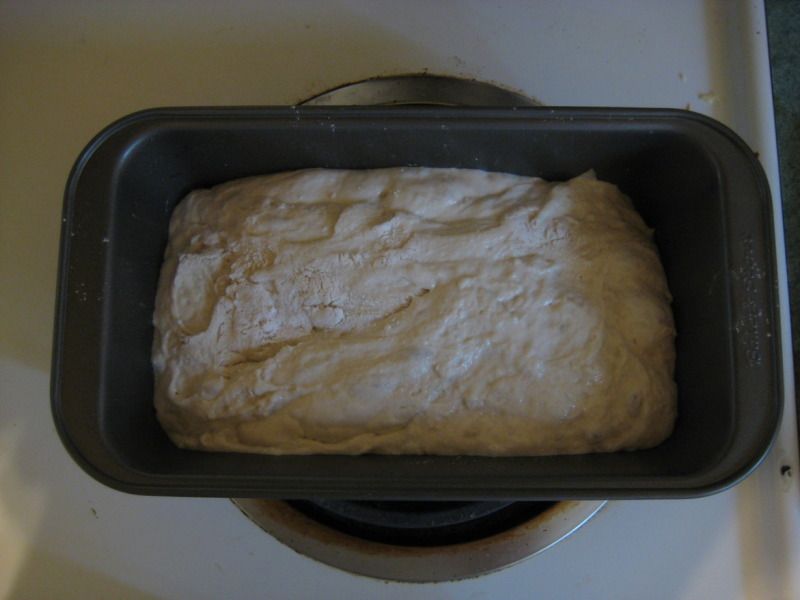

Next I realize that the recipe actually asks for some fancy cooking set up involving more than the one rack we have for our oven.  Who would think you would essentially need to set up a humidifier in your oven to cook bread??  I decide to cook to at traditional bread temperature and then drop the heat like it is suggested in the original recipe.
 
35 minutes later my bread...looks like bread.  Holy holy.  Look at that!  And it actually tastes okay too.  A bit heavy (kind of sourdough texture), but still not bad.


  1. So what have I learned.  Even when things are not working out, throw more flour at it and keep going.
  2. Trust in my instincts 
If I am going to start cooking with recipes involving weight I had better get myself a scale

I wonder if I could get a cute once second hand...hmmm

Saturday, 9 June 2012

1946 Cooking

I have been lucky enough to get my hands on some neat old cook books.  Unfortunately I could not bring most of them home with me on the plane because of weight restrictions, but I did bring a couple with me.

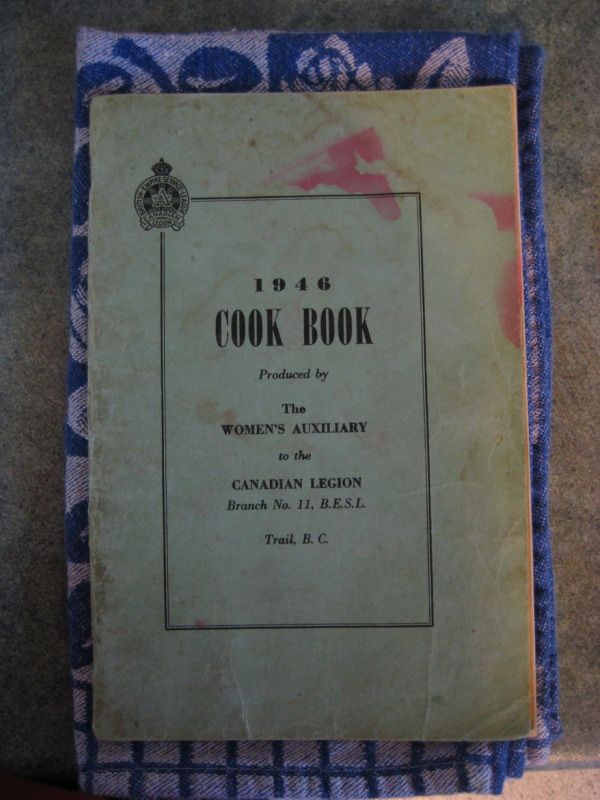
One is the 1946 Cook Book by the Women's Auxiliary to the Canadian Legion of Trail, BC.


 I took this one home as I think it is the oldest of the Auxiliary cook books. I like to imagine my Grandma pouring over these cook books trying to decide what to feed her family.  So I thought I would try out the recipes in this book. (And I bet they are yummy.  Those ladies could cook back then.)

I chose the Lemon Cake recipe as both my husband and I are total lemon fans so I thought it would be a good start.  Warning,  this along with most of the recipes in this book are not for the health conscious.  They are full of "terrible" stuff like butter and sugar and eggs.  Mmmmm...  Here is the recipe:

Lemon Cake

First Part
1 cup flour
1/2 cup butter (melted)
1/2 cup brown sugar
1 tablespoon water
1/8 teaspoon baking powder
1/4 teaspoon cream of tartar

Sift flour, baking powder and cream of tartar, add sugar, butter and water.  Mix well together.  Press in greased pan.

Second Part
1 large lemon (juice and rind)
1 cup white sugar
3 eggs
1 teaspoon melted butter
Pinch of salt

Beat eggs and sugar together, add butter, salt, rind and juice of lemon.  Cook in saucepan until thick, set to cool.  Then spread over first part.

Third Part
2 cups cocoanut
1 tablespoon butter
1 egg

Mix together, spread over lemon filling. Bake in moderate oven 30 minutes.

---Mrs. A. D. Fletcher

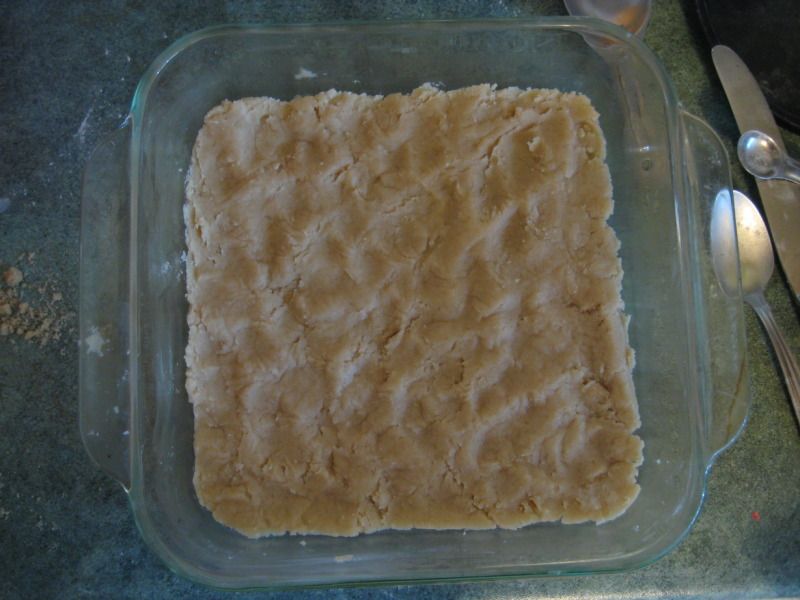
This is what it looked like after the first part is complete. I made no changes.


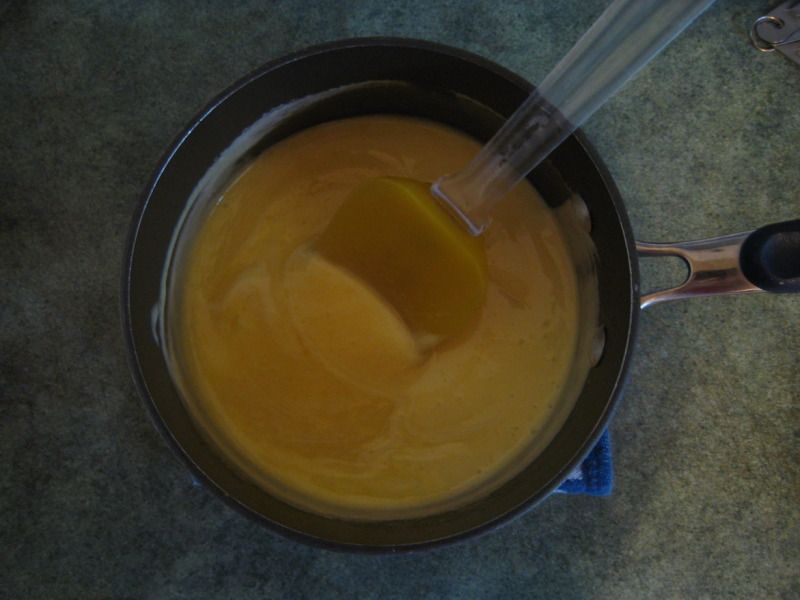
The second part looked like this when it was done.


I did make a bit of a change. I used two largish lemons so there was more rind.  I would say I used between about 1/8-1/4 of a cup.  I also used the juice of 1 1/2  lemons (1/3 cup if your using juice from a bottle).  I really like lemons. :)

The third part had no changes although the egg should be beaten before adding the coconut and the butter should be melted.


I baked it at 350degrees for only about 20 minutes although my oven tends to run a bit hot.

It turned out like this:


They will get a taste test tomorrow!  Stay tuned.

I also did some gardening today. 


I have been growing flowers from seed this year and I felt they were now old enough to be planted outside.  I have been digging out these abandoned tires which were once used as planters so I can use them again.  They were absolutely over run with grass and weeds when I started.

Marigold (bought) surrounded by Pansies (grown from seed)
To be planted with poppies
Zinna (from seed) in yellow Poppies and Pansies in green pots

Random Rupert!

Today was Seafest and for the first time in the 2 1/2 years we have been here it was finally sunny for the festival!  Usually we watch the poor families out with their umbrellas in the cold and rain watching the parade and playing street hockey etc.  Rupert decided to surprise us this year.

We went down and watched the parade and plowed through the crowds (crowds are very abnormal in Prince Rupert.  It was a strange feeling.)

Unfortunately I left my camera at home.  Rats!

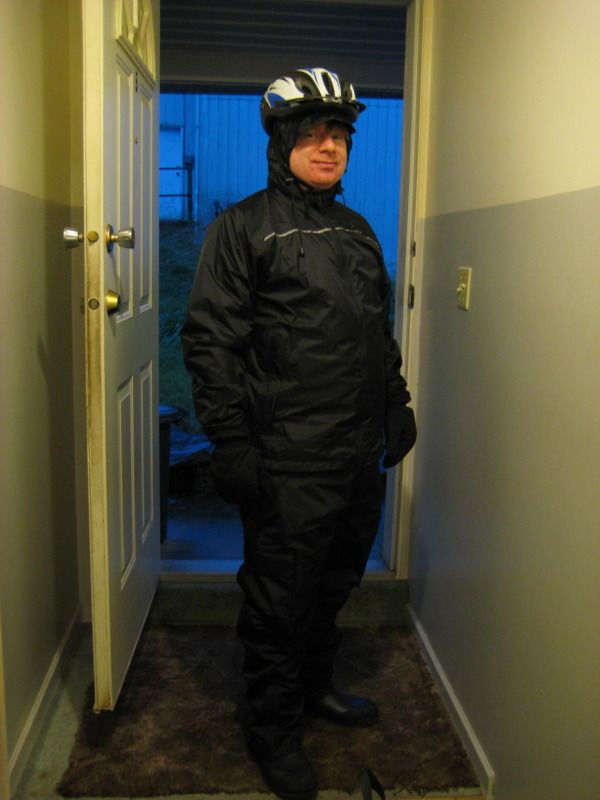
Just in case you wonder why I make such a big deal about the sun, here is a picture of my husband heading off for work in the morning.  Hard core rain gear!  Only in Prince Rupert can a store survive that completely caters to rain gear.  It is called "Slickers".


Yes, we do get the most rain in Canada per year.  What a claim to fame. :)

Wednesday, 23 May 2012

Off and Away

So this weekend there will be no sewing.  I have to go away for a family matter.

Instead I thought I would show off one of the sweaters I knitted from a vintage pattern.

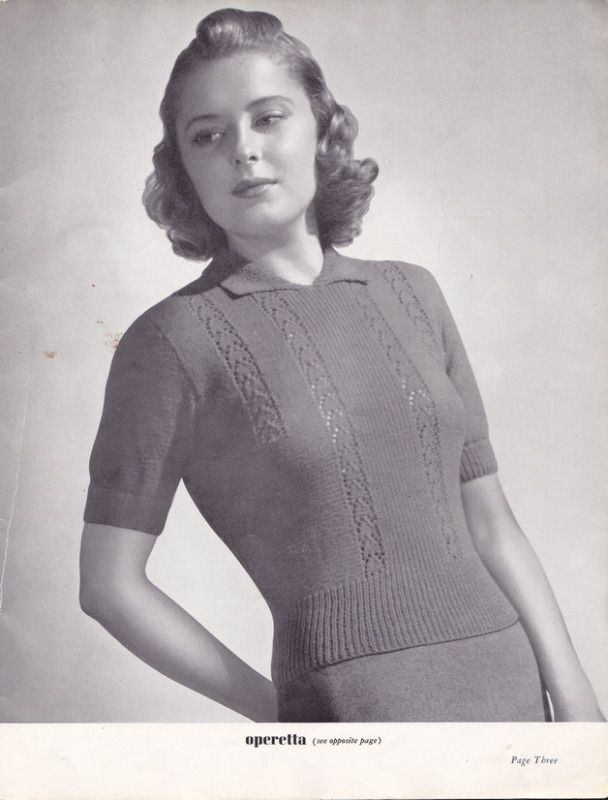
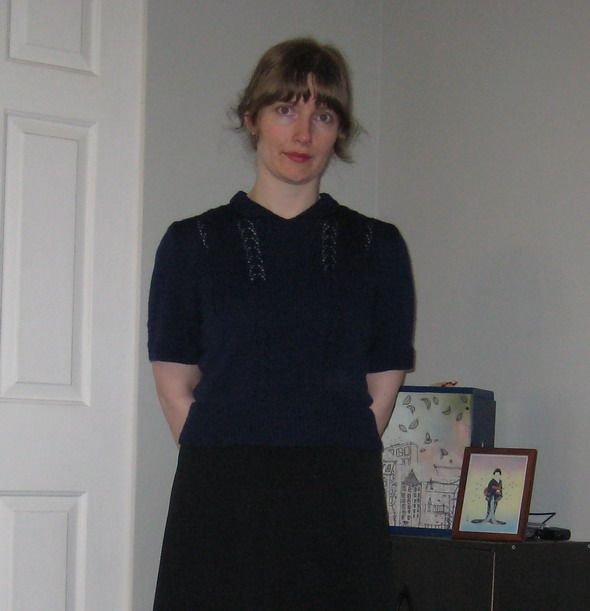
I knitted this sweater from a pattern I was given by my Grandma.  She was the one who also taught me to knit when I was 8 or so.  I still cherish the first knitting needles she gave to me.  I remember her telling me to take care of them as you could not get those needles anymore.  I took that to heart and they are still with me now.


This is the pattern. It is from a book called "Harmony in Handknits" by Beehive.  It is full of amazing knitted shirts and dresses.

I love the lace work on this


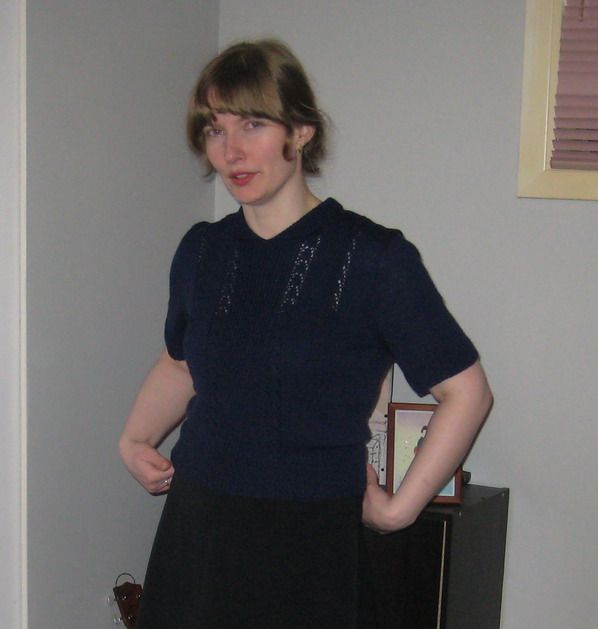
Photographer husbands should not talk to the model for fear of strange expressions. :)

It knitted up pretty well.  I made a couple changes like I knitted it on the round rather than seaming the sides as it was already going to take forever to knit.  It has not changed the structure of the sweater much.  I do wish I was better at seaming.  The set in sleeves were very difficult to sew in as the knitted fabric was so light it bunched up a lot.  As a result the seaming on the sleeves is not as smooth as I would have liked.  Overall it is really comfortable but as it is a short sweater I really need to sew some more high waisted skirts to go with it.

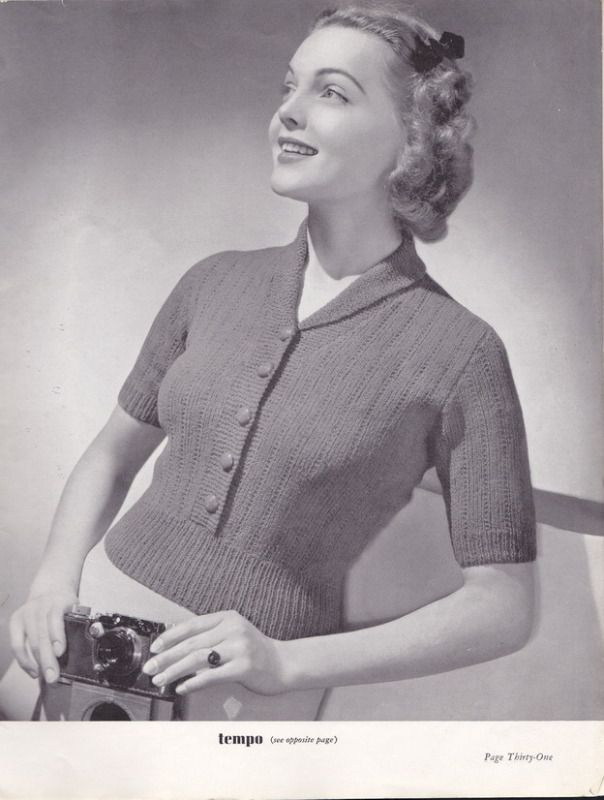
I want to knit this one next.


Last weekend I was able to work on my blouse a bit.  I was able to sew the bodice part together and I finally got the pin tucks straight.  Funny enough I did not notice until after that I actually did the tucks backwards.  I have pleats rather than pin-tucks.  The pin-tucks on the other side look so ugly though I decided not to worry about it.  Pleats and seaming it is.  I will try and get it right the next time I sew this pattern.  If it works out I have three colours of fabric to make it in.  Black, cream and purple.  I am definitely glad I am making this wearable muslin version first!  I am making all my mistakes now.  I have the collar done too and pinned to the shirt but I have not sewn it on yet. I am not super excited about the shape of the collar for this pattern.  I think I will reshape it into a proper peter pan collar for subsequent blouses.


And here I am picking out my first really ugly pin-tucks.  They were not straight at all! But do notice the sun.  Yes, it was sunny in Prince Rupert on Saturday.  See proof!

Today I went to the thrift store and totally scored.  I was able to get my hands on 16 vintage patterns some from the 1950s!  It was like shopping on Etsy except the patterns were only 25 cents apiece! I will need to research grading patterns, but I am so looking forward to the challenge. Yeah living in a small town.  Less competition for awesome finds.

Random Rupert! 

Whenever I look out at the water I am always amazed at how pretty it is here.  This picture was taken at Rotary park which is right down on the water on the other side of the train tracks.  You can actually walk right next to the tracks for about a half kilometer.  People are always down there walking their dogs, biking and other things.


This is a pretty typical view of the water here.

Then some days you get to see strange things like this:


It was so far away that I had to take a picture and zoom it to see what it actually was.  Yes, I do believe that is a hotel on the move.  I have no idea where it came from or where it was going, but it was sure funny to watch it bob out there in the straight.

Apparently a lot of houses were barged up to Prince Rupert from Vancouver back when Prince Rupert was just starting out.  One of these houses is actually for sale right now.  It is very run down though.  It used to be the house of the first barrister in Prince Rupert.  Now it is a rooming house. It is a huge house.  Must cost a mint to heat it.

Saturday, 19 May 2012

Long Weekends = Sewing Fun!

So I have a confession.  I did not master the button hole last weekend.  I realized that I actually do not do the buttonholes until the finishing of the blouse.  Hello procrastination. I am your best friend.  What I did have to do was pin-tuck pleating.  This has brought out the worst in me.  Trying to get those darn seam lines straight it making me a little crazy.  I plan to try again today.  It is really sunny today so if I become insane I can go for a walk and kill the instinct to BURN IT ALL! :P

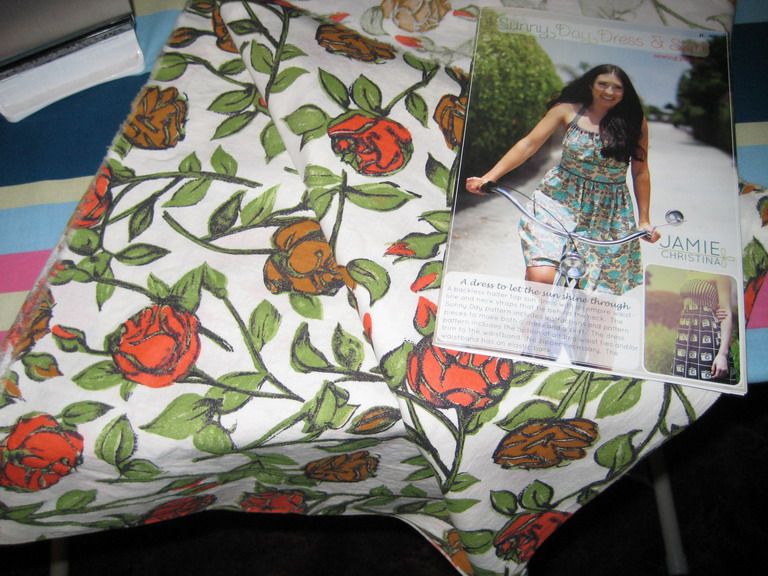
Also here is a picture of my next sewing pattern to be made.  The fabric is some cotton I was given by my Grandma before she passed away.  So real vintage fabric!


As a result I have very little to show this week.  Maybe by the end of the weekend something will have been accomplished.

On a different note. 

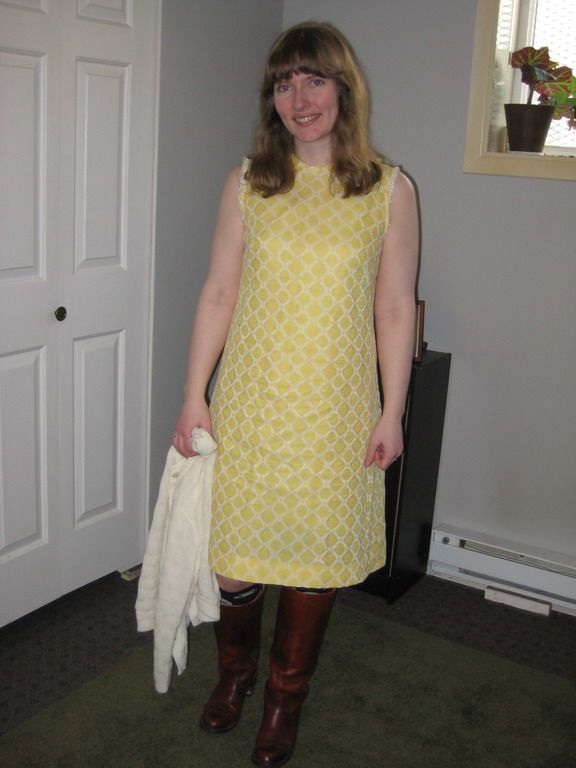
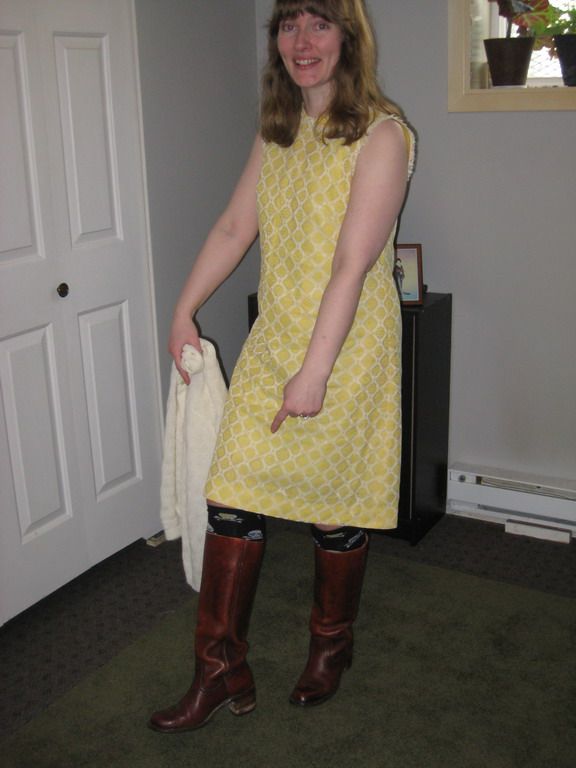
Hugh and I went to a really cool play last night called "Gods of Carnage".  It was one that my piano teacher was stage director for so we went to support her and had a pretty good time.  It also gave me a reason to bring out my new dress I bought from Etsy in February.


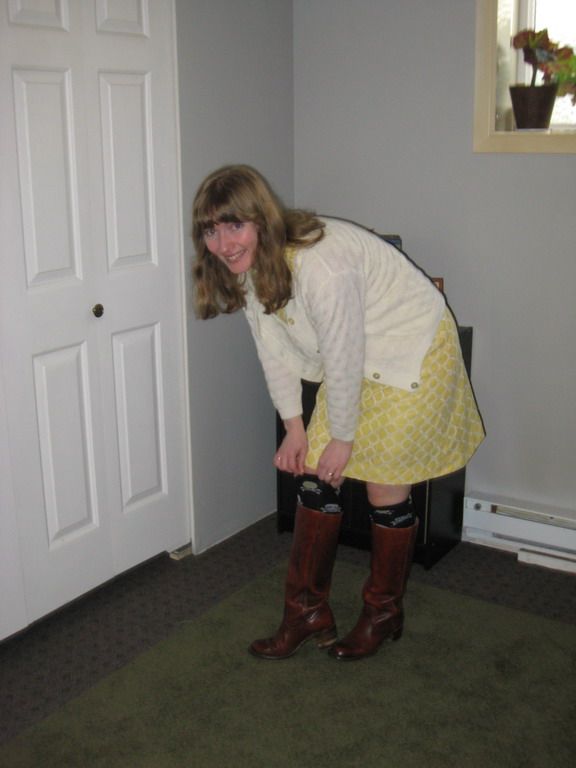
Unfortunately you cant see it because of my hair but it has the cutest peter pan collar.  When I bought the dress it was listed as a '50s style but I am thing more early '60s.  Anyway I love the yellow as it is a colour I cannot normally wear, but have always wanted too.


Now, please ignore my lack of head and check out those boots!  Those are my new Frye boots.  They are older than I am. Although not by much.  I stalked Ebay and Etsy for months to find these babies.  Finding boots that fit my calves is a trial so I was super excited to find these on Etsy.  They will be getting some TLC when I get to Comox in August by a friend of mine who is a leather worker so they will last forever!

Everyone in Prince Rupert seem to like the boots.  I have received many nice and some strange complements on them so far.  My favorite so far is this nice older woman who passed me on the sidewalk and said something like "Looking good, sexy." A strange experience.  Usually I am the person no one notices and people have a dickens of a time remembering my name. :)

Oh and finally, Check out the awesome socks.  I got these in Japan when I was last there.

Yar! There be pirates in these boots.

 PS: The cardigan is also thrifted.


Now for some Random Rupert!

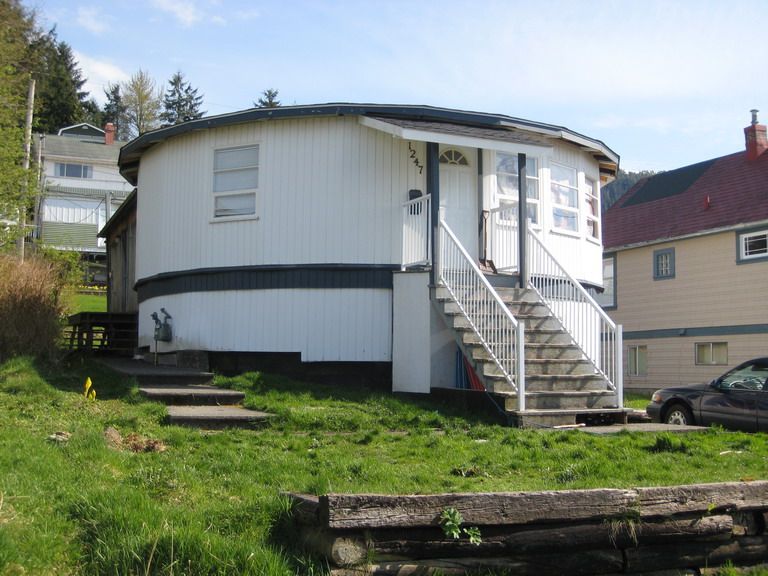
One of the cute things about Prince Rupert is it's very casual affair with things like building codes and its affinity for random property placement.  It is not unlikely to see houses with no driveways, mountain climb like hikes up stairs to get to homes, the ability of thieves to run from rooftop to rooftop as they are so close together, wood beam foundations and random funky architecture.

This house is one of my favorites.


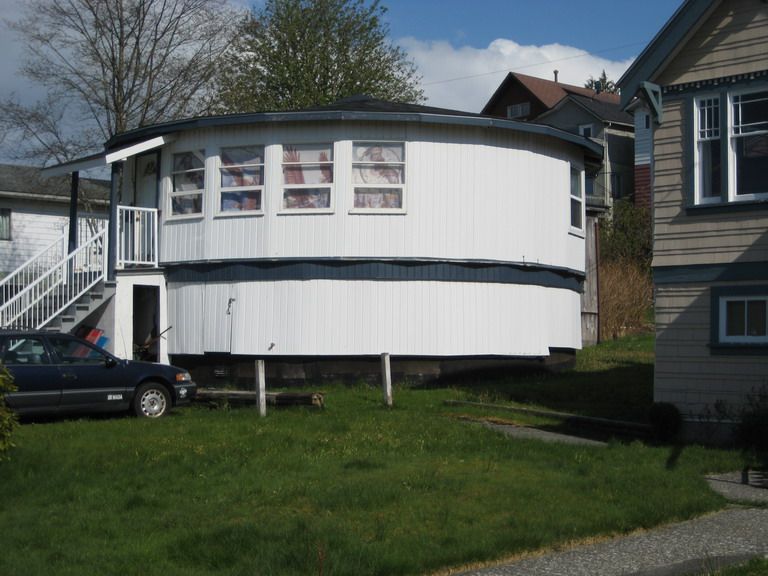
This is a labour of love.  There is an addition built onto the back but I love this house.  I wonder what it looks like inside...?


I imagine it is sitting on a wood beam foundation, but I can't remember.
 
And finally a little Japanese in honor of my meeting a new friend from Japan last night!

じゃね みなさん!


Wednesday, 9 May 2012

Getting Crafty - How to sew when broke

As I have mentioned in the bio, I live in a town without a proper fabric or craft store.  Most of the crafty people (namely quilters) go to the nearest bigger city (2 hour drive away) to buy their fabrics.  Being without a car I cannot get out of town to shop.  So I must learn to make due with the odd trip home, internet shopping and my local thrift store.

When I first arrived in Prince Rupert I was unemployed, broke and bored.  While my husband went to work I frantically searched for work and haunted the local thrift store. On one such visit I came across piles and piles of white bedsheets all from the BC Ferry overnight boat.  My mind screamed "fabric!" I bought four.

But what to do with plain white bedsheets?  Dye them!
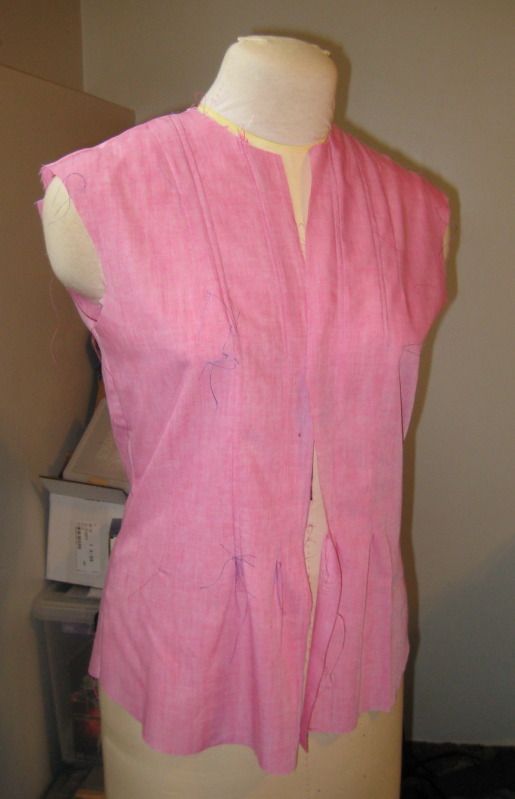
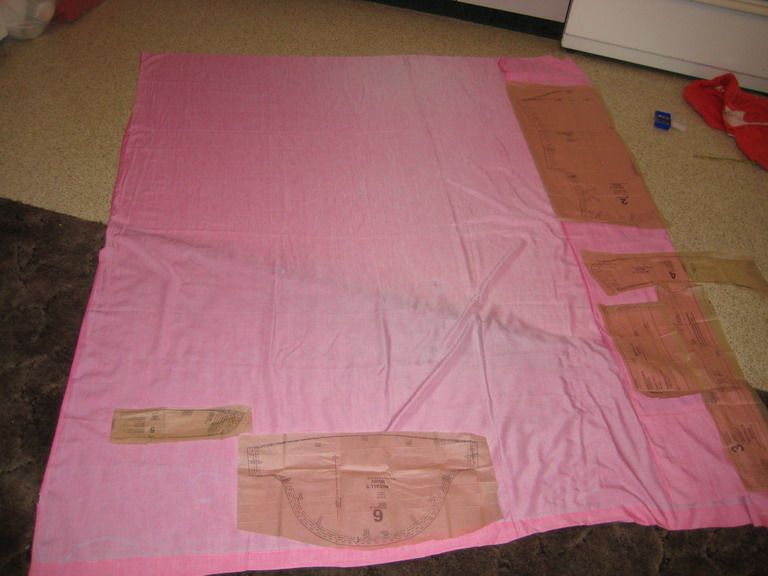
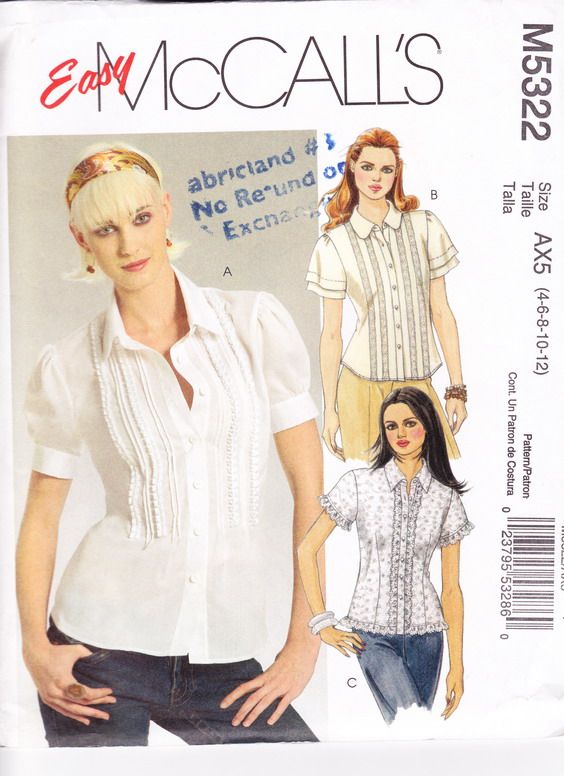
I picked the fuchsia dye as I had not tried the colour and ended up with mixed results.  As you can see my white bedsheet is now very, very bubblegum pink.  There is something kind of cute about it though so I let it stand. I decided that I wanted to try out a cute blouse pattern which has been sitting in my pattern box for quite a while.
I am thinking of over dying the shirt purple once it is finished and it will end up a dusky rose colour.  The view I am making is view A (the one on a real person) but without the extra ruffles down the bust.


As you can see in the picture above, I had to pin my pattern pieces around the edge of the fabric.  This is for one really important reason.  The poly-cotton blend fabric had worn out in the middle of the sheet from people sleeping on them.  This meant that the finer cotton threads had been worn out and only the polyester threads we still present in the middle of the fabric.

As dye does not adhere very well to man made fibers, the dye took quite nicely on the edge of the sheet where the cotton threads still remained but the closer you got to the middle of the fabric the lighter the colour became.  Not cool.  Creating pattern placement became a must.


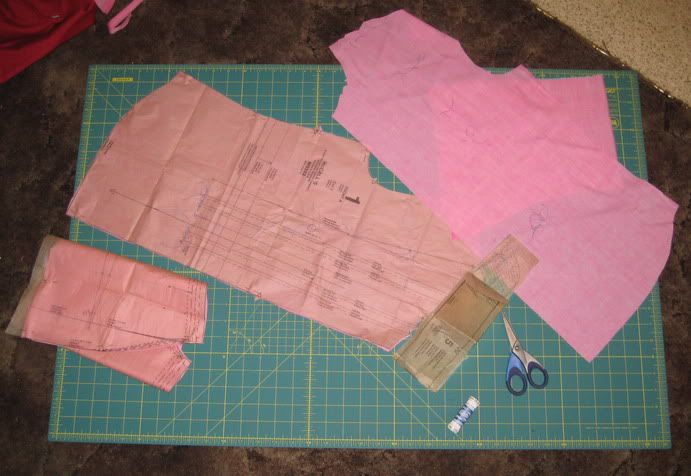
Now everything is cut out and ready for sewing.  Yay...except next i am supposed to make the button holes first...oh nooooooooosssss!

Button holes terrify the crap out of me.  Purposely making holes in your fabric?  Awwww.  So as of January 26, 2010 this project became abandoned out of fear.

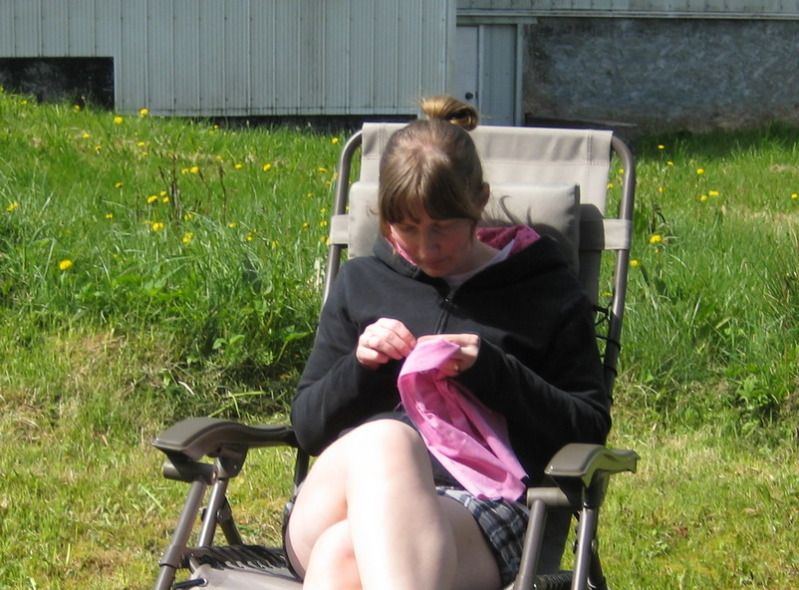
I am now two years older (probably not much wiser) but feeling much braver.  This weekend I will attempt to make buttonholes on my blouse or kill it trying.  Either way I will learn something I hope, even if it is to only use zippers or velcro in the future. :)

Buttons will be conquered!

And now for another Random Rupert

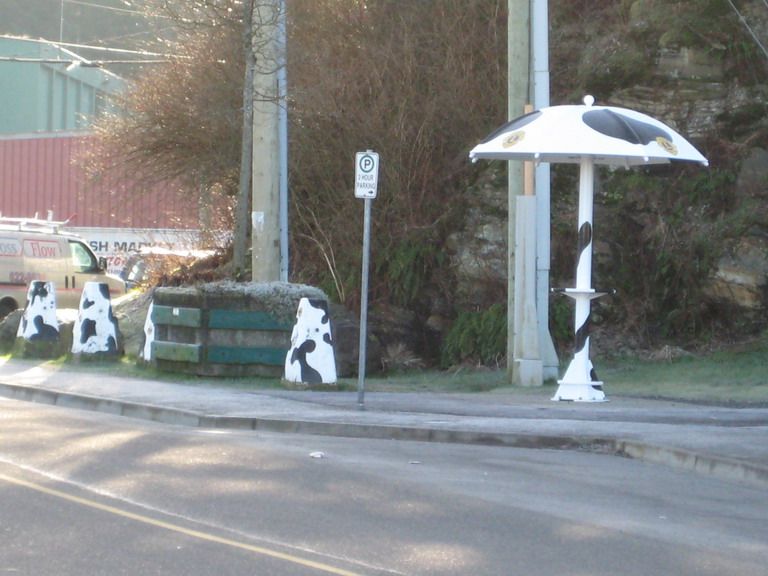
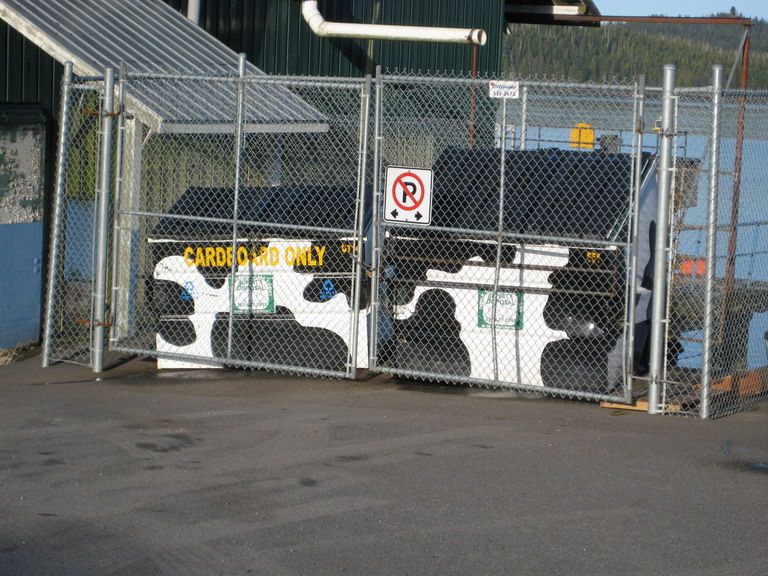
Cow Bay is the touristy shopping district of Prince Rupert.  It is where the cruise ships come in and has lots of cute little shops which sell the usual tourist brick a brack.  What I found the most fun about Cow Bay was its dedication to its name. Can you see why?

  
Funny eh?

We also got our first Cruise ship of the season last Friday.  I will post a picture when I have time to pull it from my camera.

Wednesday, 2 May 2012

The Cardigan (Why finish a UFO when you can start a new one!)

After a long hiatus, I have begun knitting again.  For quite a while nothing inspired me and everything seemed like too much work.  Don't even talk to me about my UFO's on that front. :)

But when I saw this cardigan, I thought it was so pretty.  If you want to make it, pattern is available HERE.

So I have begun and it is going pretty well.  The pattern is pretty simple as the cable only turns in one direction so it is a good knit for watching TV.

Look how much I have done!

See the pretty cable?

I will probably have to get some new DPNs for when I get to the sleeves.  The construction of this sweater is different from any raglan sleeve I have seen before.  This one you work your way up to the top of the armpit, cast on extra stitches for the arm holes and put these stitches on a holder, and finish the rest of the neckline.  Then you pick up the stitches on holders and knit down to the cuff on the sleeve.  Weird.

And now for a Random Rupert moment:


As some of you know, we were thinking of buying a house in Prince Rupert last year.  This is one of the many reasons we decided to hold off on our purchase.
Can you see the shared gutter?


Much of Prince Rupert was built during the wars and as a result of such a massive boom in population (workers and soldiers) the houses were built very very close together and rather haphazardly placed in some areas.  

Hugh and I want some room on our property and unfortunately Prince Rupert is lacking in this.  It is an island with a mountain in the middle and everyone has settled on the north west side as it is close to the ocean and the flattest of the island.

The houses are so close together that I think it is a fire hazard.  Also the lots here are super small and strangely shaped. The average lot is a 25' by 100'.  This obviously creates some very long and narrow homes.  It is kind of like looking at a trailer park. :P

Anyway, we decided to hold back on becoming a home owner for the moment although the fact you can get a decent looking house here for $150,000 is pretty awesome and terribly tempting.

Then again, if we move to PEI...

Monday, 23 April 2012

The Dress

Sunday was a lovely day in Prince Rupert.  In a place where it rains A LOT you learn to take advantage of the sun.

After talking to my best friend about my unfortunate UFO problem, I felt inspired to try and start finishing things.

One of the garments I have had in waiting was a lovely jumper which I made out of a soft light burgundy corduroy which I purchased on a shopping spree when I went home for Christmas.

Jumpers are something I have begun to love in Prince Rupert.  Being damp, layering is essential here and being able to pull a jumper over my shirts and blouses gives me an extra layer of warmth at the office.  They are also darn cute!

This burgundy jumper was also my first foray in quite a while into vintage sewing.  I last sewed a vintage blouse from an old 1970's pattern of my mum's back in the mid 90's.  It was really cute  and I loved having something that no one else in my school had.

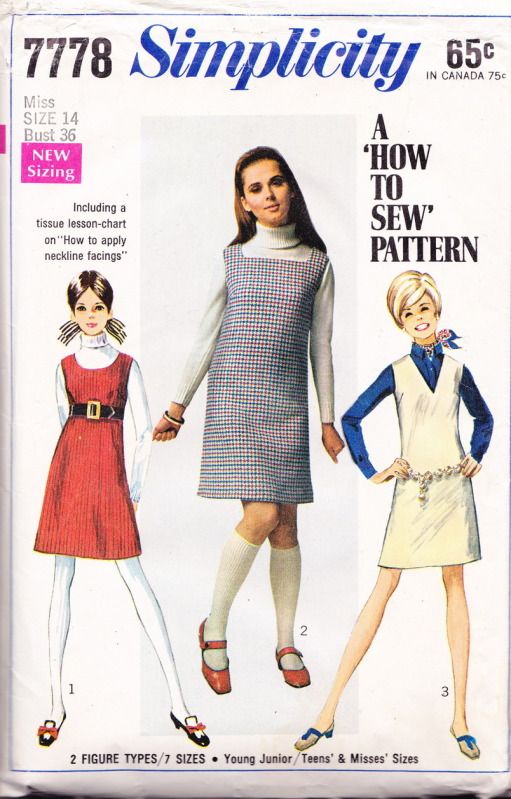
Next came my search for a cute jumper pattern.  I was in a dream world full of old patterns.  I finally settled on this 1968 pattern for a jumper.

So I came home, bought my pattern and set off on the wonderful road of the vintage jumper.  The road was smooth at first and I was feeling pretty confident about my jumper.  The fabric was pretty.  I worked out which way I wanted the nap to lie.  Everything was going smoothly until I finished basting the dress together.
Wha?  I asked myself, what is this reddish-brown bag I have created.  I don't think my jumper is supposed to look like this... Oh wait, it does.

Much to my surprise I had missed one very important item when it comes to this 1960's dress style.  A-Line with no shaping is the name of the game.  So with only two darts at the side of the bust, I essentially had created a bag dress.  Not flattering.  I am a girl who needs a little shaping.

So I decided to add some vertical darts down the front.  How hard can it be?  It is harder than it looks.  After much sewing, unpicking and swearing I finally got the dress to look okay in the bust area while giving me a little shape.  I am still not completely happy with how the darts look but if I mess around with it much more I will ruin the corduroy.  Did I mention that corduroy is not forgiving to mistakes?

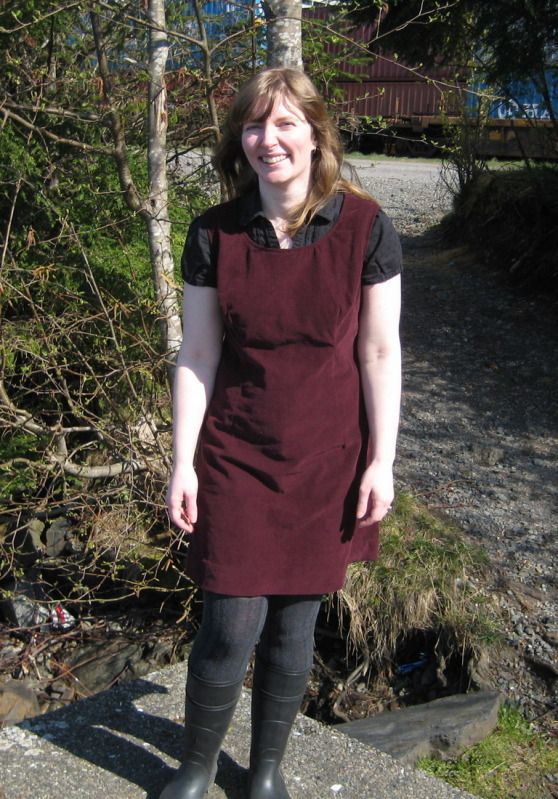
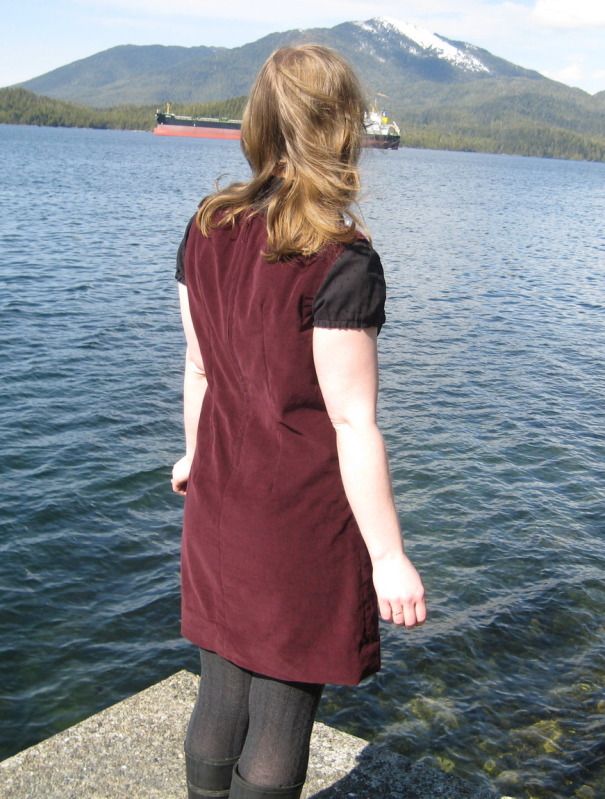
So after a week of sewing, 7 weeks of annoyance and procrastination...here is the jumper.

The front
The back
Did I mention the boats?


Finally here is the Random Rupert for this week

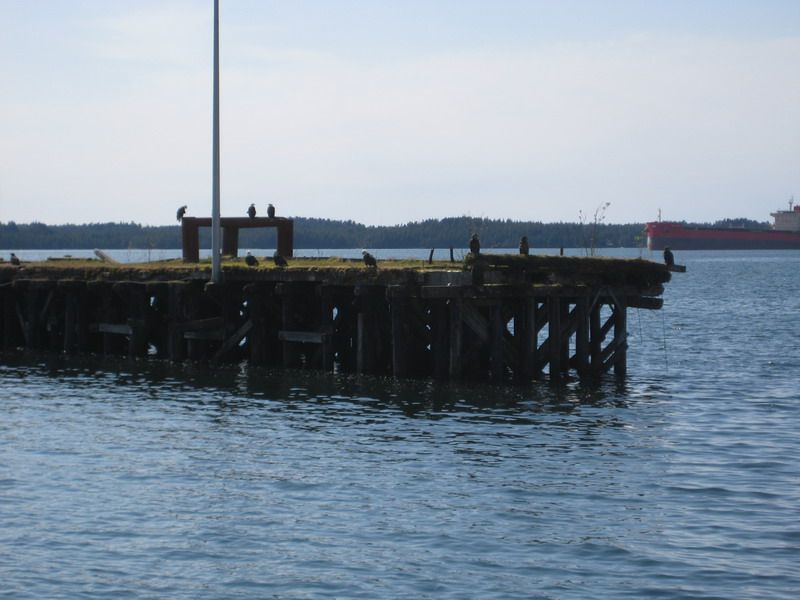
Hugh and I went for a walk to get the pictures of the jumper and we came accross the most amazing thing.  Eagles!  There were 14 total all sitting together on the old dock.  2/3 were Bald Eagles and the other 1/3 looked to be Golden Eagles (although I am not expert by any means.  Makes me want to go buy a book!)
Look at all those eagles!
Pretty birds

Hugh caught this one.

Sunday was a good day.
Crafting in Progress!
Gray Cardigan
20% done!
Bubblegum Blouse
100% done!
Cranberry Skirt
70% done!